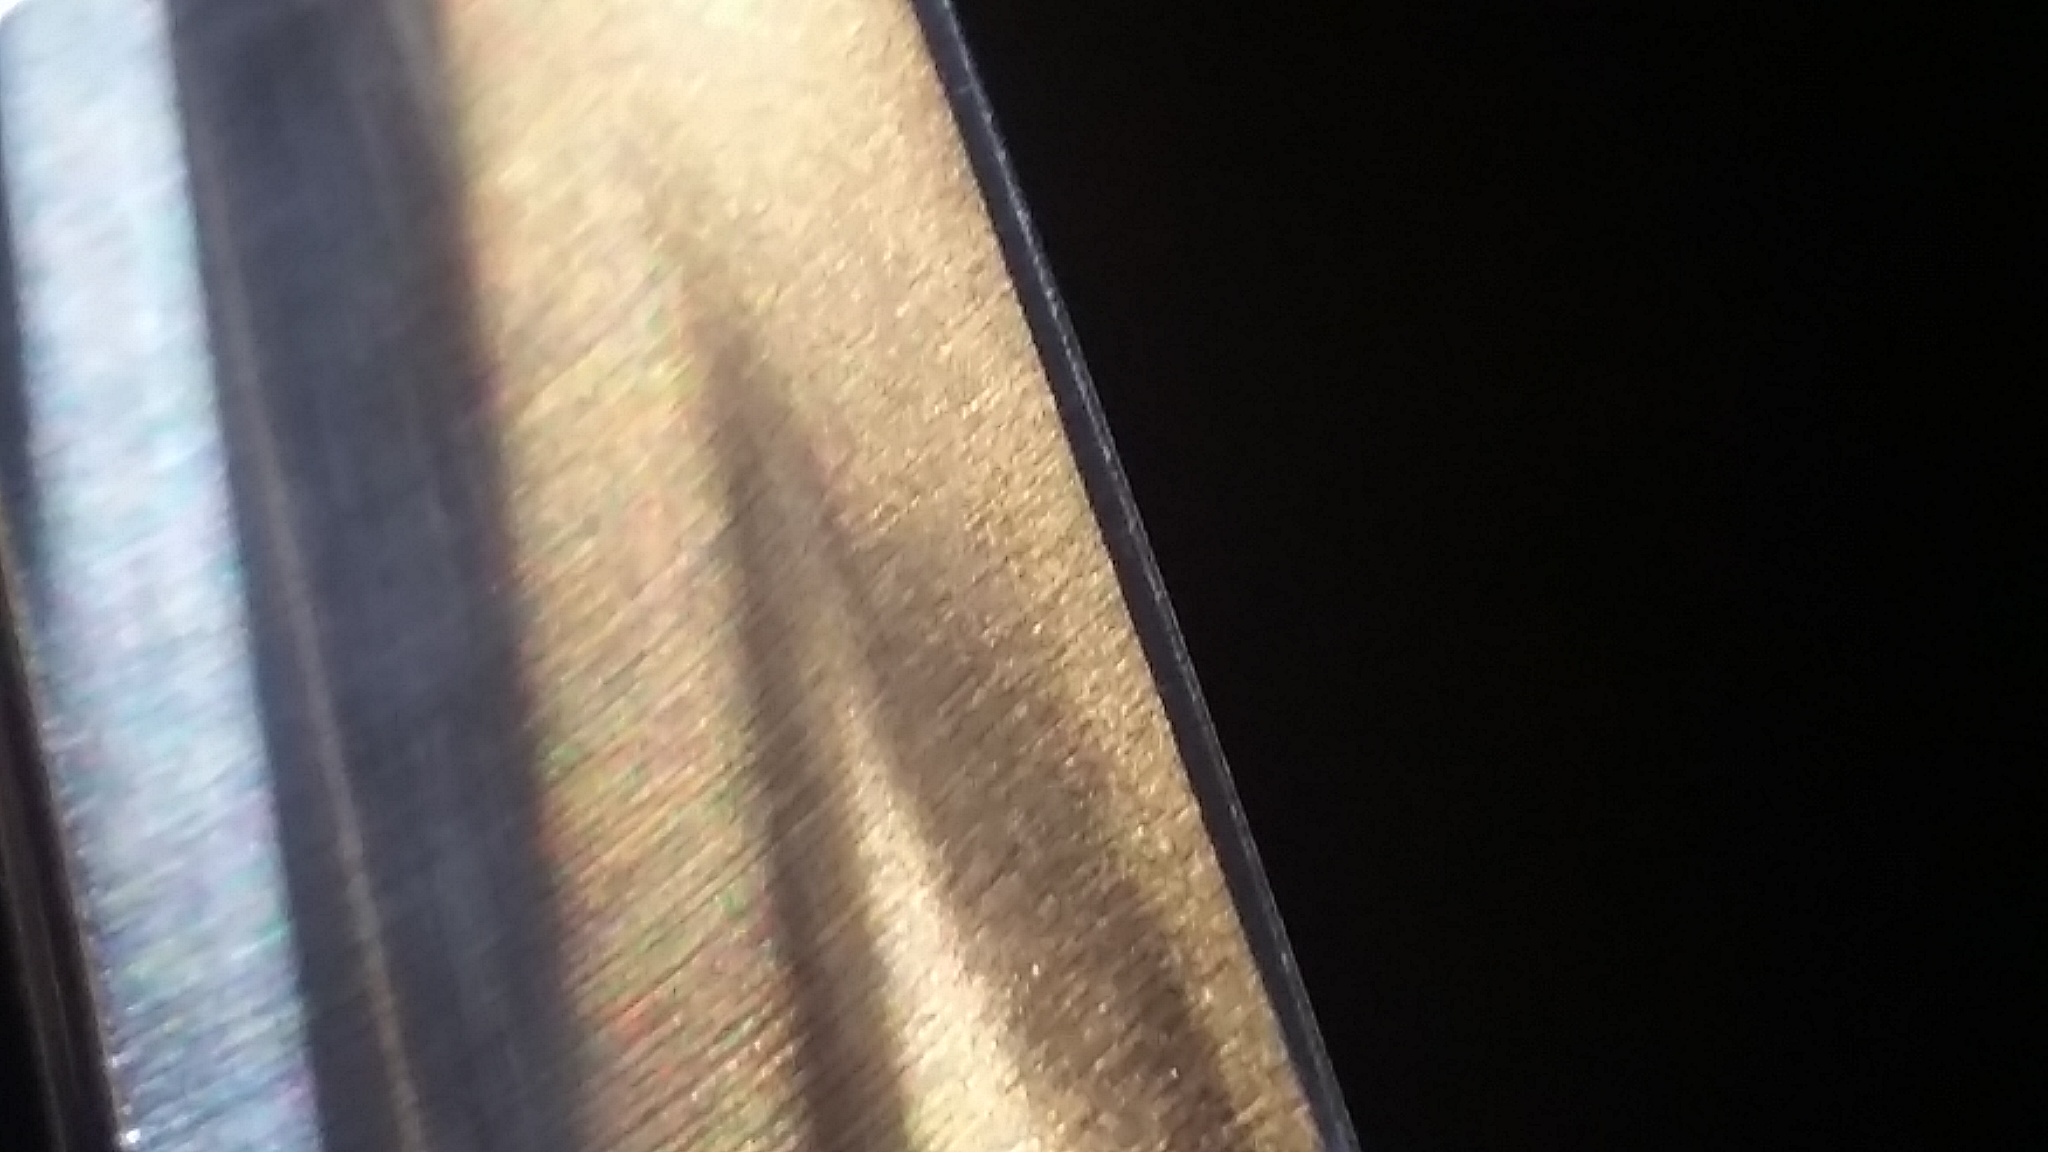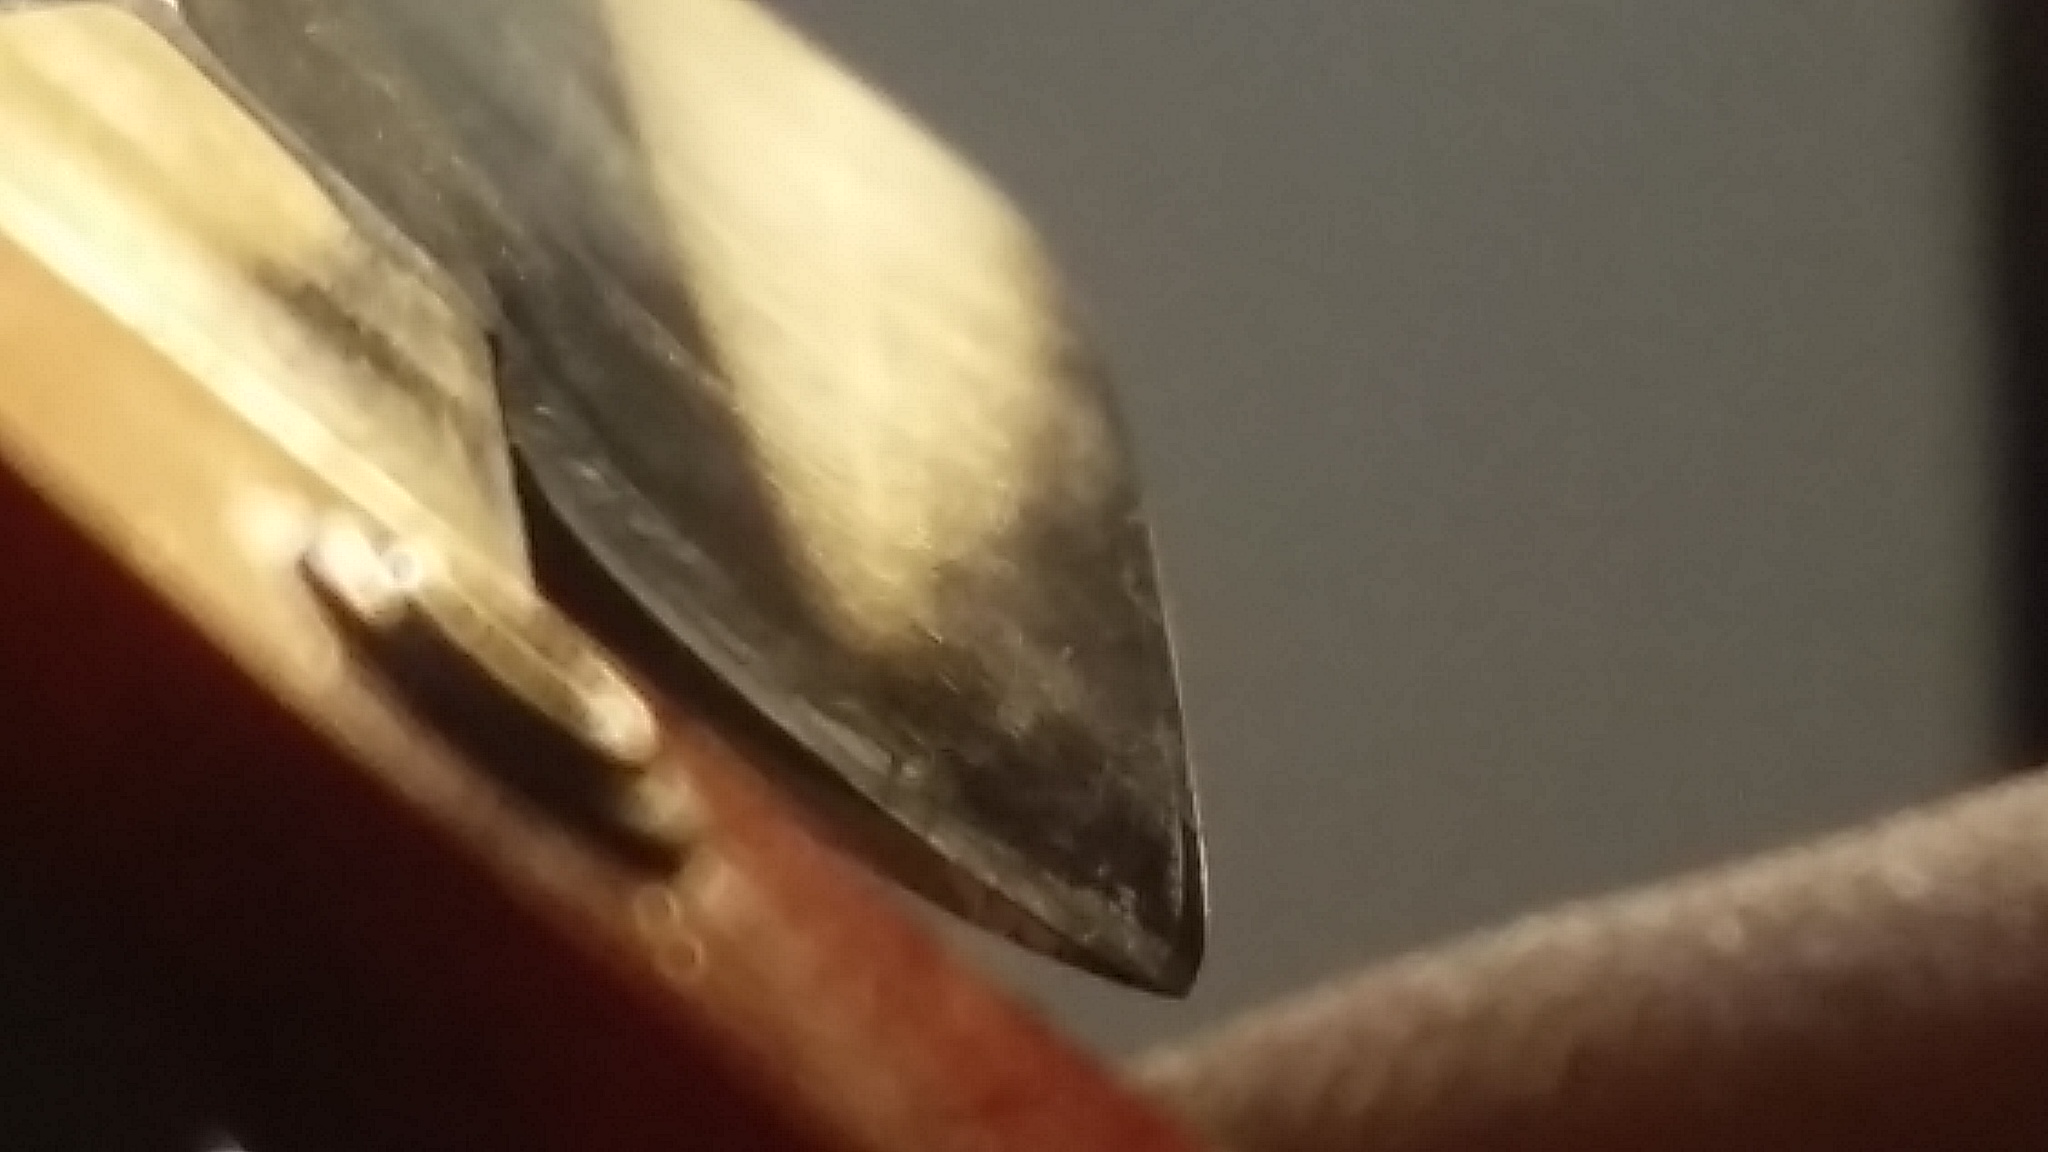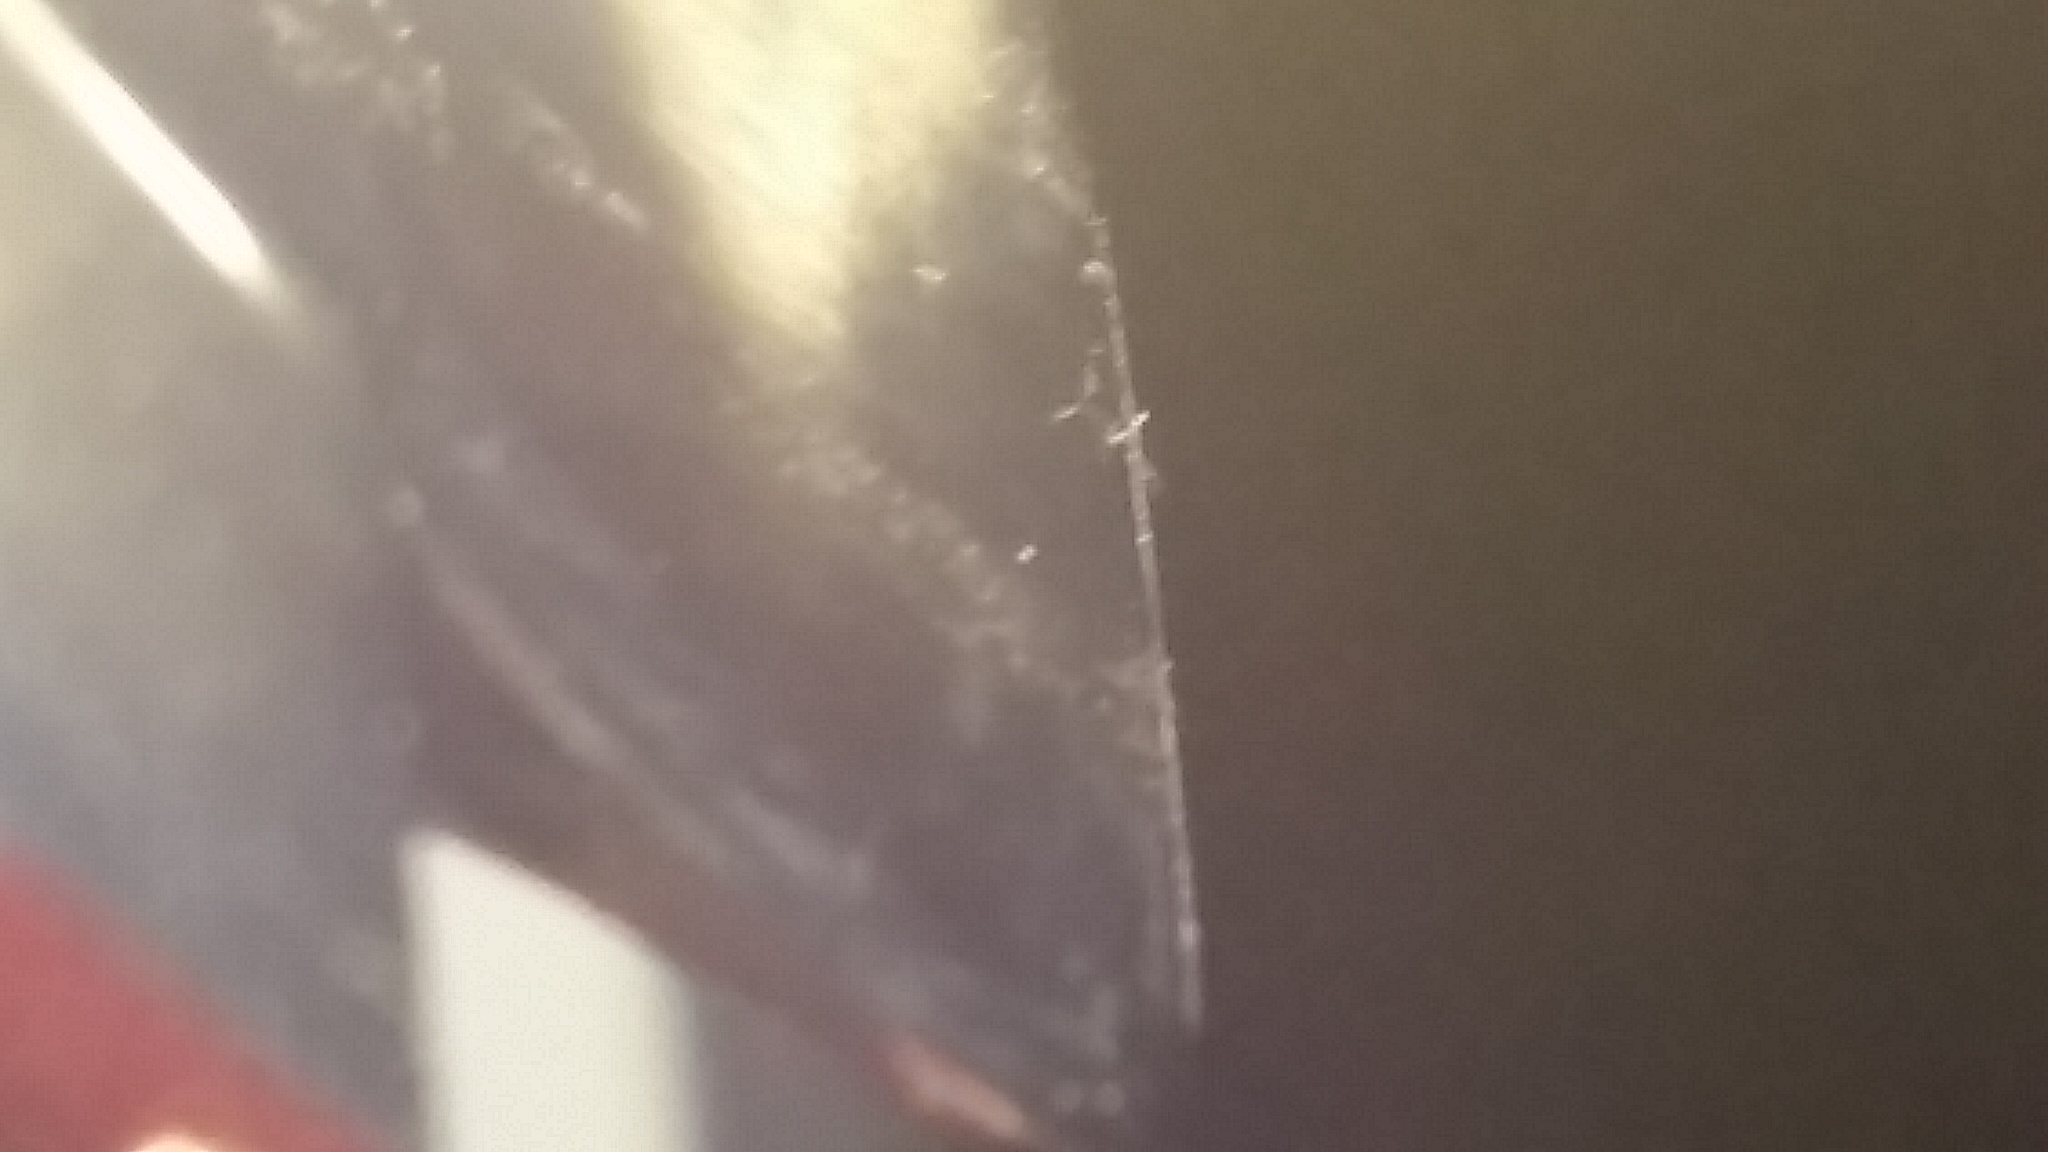
Closeup of Incomplete Bevel. The freshly honed part does not reach all the way to the edge yet.
I will assume first of all that you have read the chapter on setting the bevel with the Burr Method. You may have used the Burr Method to set a bevel, and found one small section of the edge is slow to raise a burr. You have to keep going and keep going to get down to the bottom of the edge irregularity before a burr can be raised. At the same time you might be nervous about "wasting" steel. The Howlers of Outrage might be getting to you. Okay, then here is a modified Burr Method that certainly does not "waste" steel.
To get a bevel set, the deepest dip in the edge has to come into contact with the honing media. The only way for this to happen if you are only willing to accept a nice flat bevel is to remove steel from the blade until the bevel surface is ground down to the level of the bottom of any irregularities. Can I get an amen here? You can't set a bevel without removing steel. You are not done removing steel until the bevel is fully set.
So if the burr method is scary to you or seems morally wrong or is against the teachings of the mighty internet egos, then raise a burr on both sides but stop just short of a complete burr, along the entire edge. Equalize your laps on both sides. Hone the burr off with diminishing sets, diminishing pressure, and alternating laps, just as if you had done a full on bevel set using the Burr Method all the way to complete success. Look at your razor under a magnifying glass under a very bright light. Roll it back and forth, Spend some time, hours if need be, looking at the bevel and its reflections. Try to identify by sight, the areas that did not get a burr. You will see a segment that shines when the bevel does not, or that does not shine when the rest of the bevel does. Roll that razor, and tip the nose upward and downward, to move the point of brightest reflection around. Learn how to visually analyze your edge. The alternative is to use the Burr Method, hardcore and with extreme malice. But oh, no! Mustn't do that! What will the forum bullies say? The HUMANITY!
So if the Burr Method is too strong for you and you want to use the weak sister hybrid method, you know what you gotta do. You STILL have to remove more steel, and keep removing steel until those irregularities are gone, and can no longer be detected with magnification. But you are STILL not done. You need to go a little more, to ensure that the bevel is fully developed. You can start with sets of half laps or circle strokes, maybe 20 strokes at a time per side, until you are ooooooh so close to finished, and switch to regular alternating laps. Use about a hand weight of pressure, then when you are ready to call it good, reduce pressure gradually to only the weight of the razor. Add a few pull strokes and another dozen of the lightest possible laps, and you should have a very nice bevel, ready for the progression. Try dragging the edge lightly on the base of your wet thumbnail. You should feel a very consistent dig and grab thing going on. If it skips then you may have found a dull spot, where the bevel never fully formed. You can also test a small segment with the HHT and you should get something better than HHT-0 if you have a proper bevel set at the 1k level. If you know nothing about the HHT, or Hanging Hair Test, see this link: http://www.coticule.be/hanging-hair-test.html. It should also treetop arm hair at just above the skin but likely will not treetop at 1/8" or higher above the skin. If it does, hooray for you!
Following this hybrid method of bevel setting, nobody who has an iota of reason in his pointy little noggin can possibly declare and believe that steel was wasted in pursuit of a bevel. This is because when the burr was honed away, there was still more steel to be removed. Okay, so what is the difference in amount of steel removed in total, between the hybrid method and a properly executed Burr Method? Almost no difference. You still have to keep removing steel until you reach a level where the two planes of the bevel meet at a good edge.
Now if your testing reveals areas of the edge where you get good results and areas where you get not so good results on a sharpness test, obviously you are not done. Doesn't matter if you have 18,000 laps on your magic stone. If you think you are done before you actually are, you are engaged in faith-based honing. You BELIEVE you have a bevel because by everything you hold to be true you should have one by now. You are doomed and your razor is going to Sharpness Hell.
Note that if you are setting the bevel with anything coarser than 1k, when you are nearly done, you should up the grit until you are at the 1k level or above. This ensures that when your bevel is finally set, your scratch depth is very reasonable and you have a leg up on the progression. Don't set the bevel on a Chosera 600 all the way out. If you like, start the process on the coarse stone, but finish the process at a finer grit. 1k to 2k works nicely.


Pics are taken with my old Note 3 and it was difficult to get them in frame and in focus, so apologies. You will see worse, trust me. But I think you get the idea. You have to study the razor in the light, change the angles, try a magnifying glass or a loupe, to get a good idea of what is going on, visually. A burr can be detected with your fingertip sooner than with your eyeball, once you know what it feels like and how best to detect it. If you lightly run your fingertip from the spine to the edge and beyond, you should feel a faint catch, and if you flip the razor, you will not feel it on the other side. As for the incomplete bevel, depending on the angle of the light you may see the reflection from the developed bevel, or maybe for the raw undeveloped edge. Either way, it will be obvious that there is a discontinuity, and that honing must continue. Remember, if you don't get the bevel set, nothing you can do will make the edge shave properly. There is NO POINT IN CONTINUING WITH THE PROGRESSION if you do not get the bevel set properly before moving up in grit.
Honestly if you are just starting out, you are best off simply using the Burr Method and to hell with the nattering nabobs of negativity and their howls of outrage. But this method offers a compromise and a learning opportunity for those who want to follow the herd. Learning to recognize a completed bevel by eye, touch, feedback, and cutting ability will make you a more well rounded honer, that's a fact. Just please don't revert to Faith-Based Honing. If you have not yet read my explanation of just what that is, it is thinking at any time that a step MUST be completed by now because you BELIEVE that a particular amount of time or laps or prayer or living a good life will magically get the razor honed. In other words, a miracle. Save your faith for your religion. Don't be a faith based honer.